Bringing the Mountains Home: Backyard & Indoor Snowboarding Ideas for Kids
There is no reason why you can't keep your kids hyped on snowboarding year-round.
Whether the season's over, the weather's got you down, or you're avoiding a global pandemic, we've got you. With our Riglet boards, accessories, and a bit of creativity, you can get the whole family building foundational skills from the comfort of your home. It won’t replace the real thing, but it’s a great way to stay connected to snowboarding and continue to stand sideways.
What You Need To Get Started
If you don't already own them, you'll need a few items:
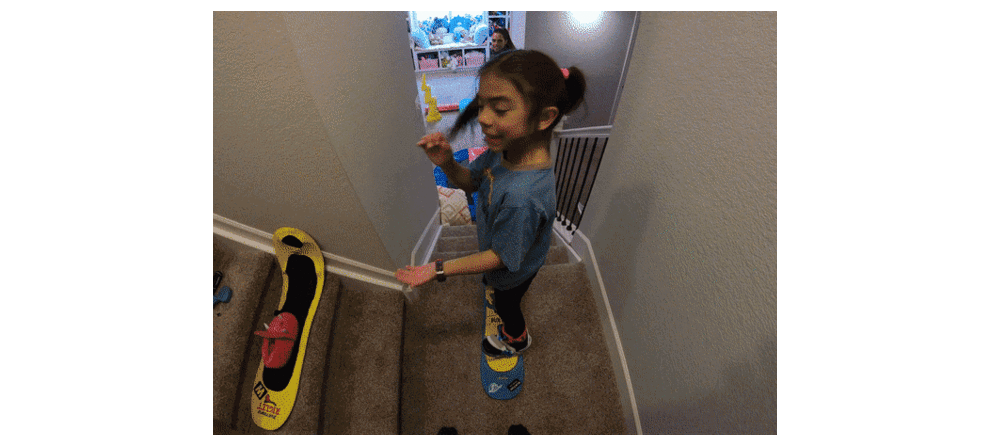
- The Riglet Snowboard is a plastic 90cm snowboard with an edgeless construction that was designed as a learning tool for kids. The grippy pads on top of the Riglet Board help keep your little one on the board without bindings. One they're comfortable with that, you can add bindings for the full experience.
- The Riglet Reel allows you to pull them around on any low friction surface, inside or out. It's a length-adjustable handle that can be attached to any Burton snowboard sized 80cm-120cm.
- To protect your hardwood or tile floors, add on the Hover Cover, a soft sleeve made for easy gliding indoors.

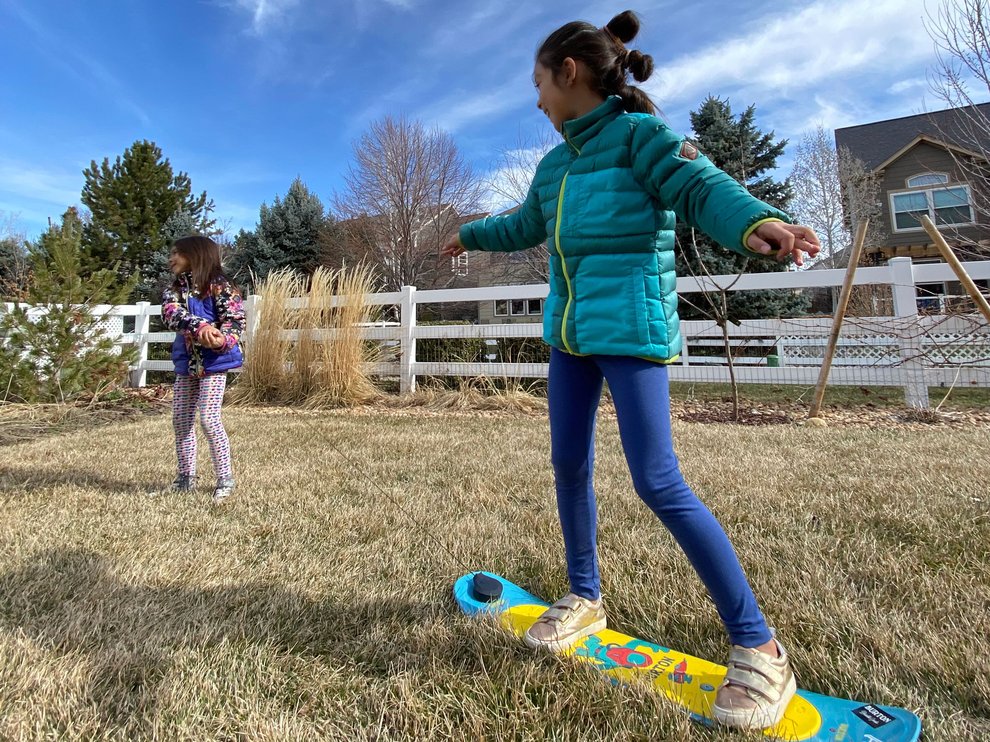
Backyard or Indoor Snowboarding Games
And now, the fun part. There are many physical skills, like balance and pressure, that you can practice at home to prepare for on-hill riding. The below games will keep your kids entertained while building up their confidence on a board. We also included some household items you can use to form your own indoor or backyard courses, once they've got the basics down.
Balancing and Grab Games
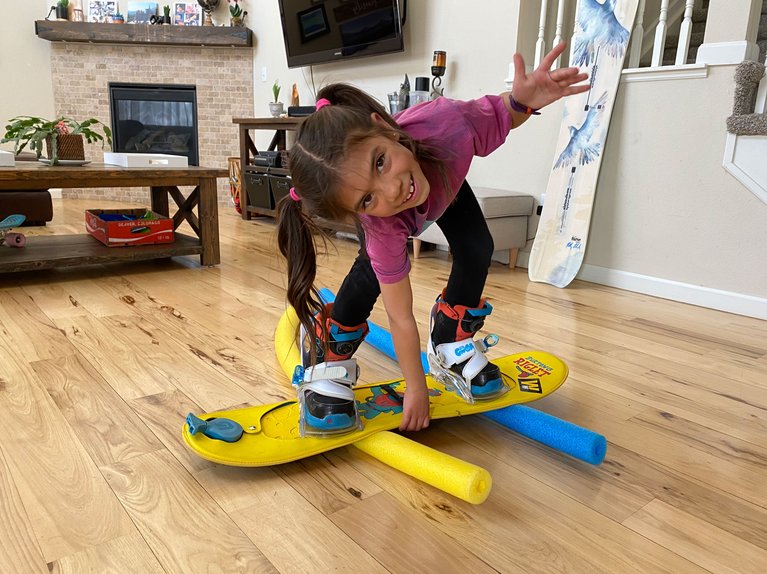
Grab the Riglet board and some available household items, such as a cut-up pool noodle, two yoga blocks, two pillows... anything that would require some balancing. Set the board up so it is resting evenly on the balancing items, supporting both the nose and the tail. Once it's balanced, have the kiddo hop on and practice these movements:
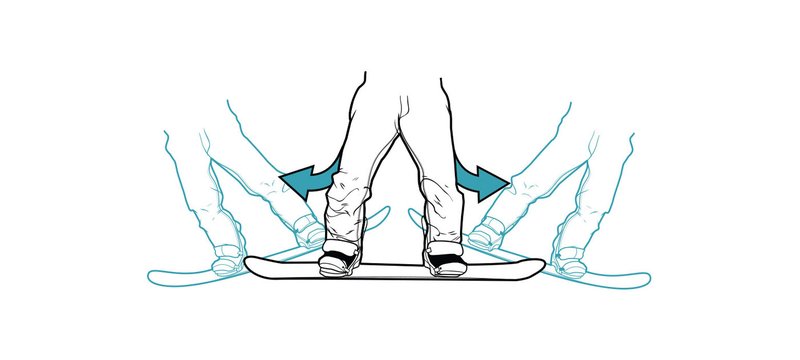
- Foot to Foot: Practice moving from their left foot to their right foot, and back and forth. In a lesson, this would be called moving your weight from the nose of the board to the tail of the board. (A similar move to this is called Toe to Heel, in this move they’d switch it up and move their weight from their toes to heels.)
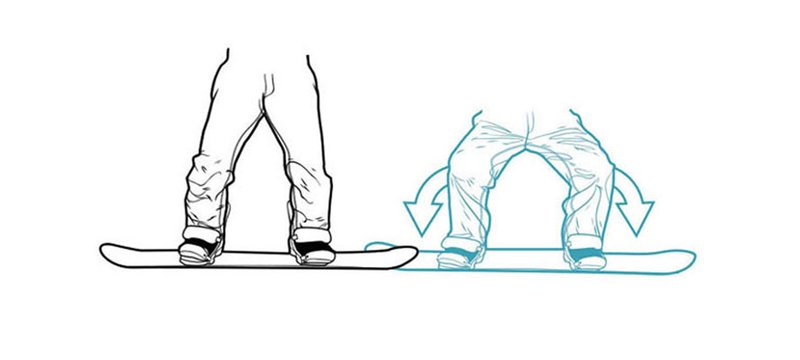
- Flexion and Extension: In this move they’ll practice getting low (flexion) on the board and then getting tall (extension). This will get them comfortable balancing and strengthening those snowboarding muscles while on the board. Play around and pretend they're trying win a game of limbo.
- Rotation: One of the most fun moves for kids (and adults) is to practice rotating their body left and right. Once they've mastered that, you can even encourage them to add a jump and attempt a 180 spin. Too easy? Try a 360!
- Grabs: Have them practice their favorite grabs while balancing on the board. Some ideas for grabs are tail grab, nose grab, or indy grab.
No one explains it better than our own Burton Team athletes. Check out this indoor snowboarding lesson they created for a full 20-minute lesson.
Level 1: The Intro Obstacle Course
There is room for variety and creativity as you build your course, or better yet – let the kids build it! Here are some examples to help you create a simple course. First, grab anything you can place on the carpet that can act as an obstacle – chairs, cushions, toys. Then, have a parent or sibling grab onto the Riglet Reel and pull the child through the course.
Level 2: The Level Up Course
Continue to add items to the course to make it more challenging. It can be fun to add in obstacles where they pause to catch a ball while holding their snowboard stance, or shoot the ball into a laundry basket or a bin. You could use two stools and broom to create a limbo game to practice flexion and extension, or add in the challenge of a 180 or 360 spins to work on rotation. Your creativity can come into full play here - make it fun!
Level 3: The Ultimate Course
Take everything from level 1 and level 2 and push it even further. Try leaning a hula hoop between two chairs to create a tunnel, or find items in your home to create a teeter-totter. For the teeter-totter, you could use a foam roller as the base and a piece of flat wood or thick cardboard to create the top. For an added challenge, have kids practice holding a grab through the whole course.
Whether you're shredding on grass, snow, or carpet, tag #BurtonRiglet in your social media posts to show us your family's progression. For more kid-specific snowboarding, at-home games, and beyond, follow along with @BurtonRiglet. Now, go have as much fun as possible.