Pre-Season Prep: Get Your Gear Ready For The Backcountry
If you couldn't tell, winter is right around the corner. New gear is hitting stores. Mountains are testing their snowguns. Maybe you've even seen a few freak flurries yourself. But why wait for the lifts to spin to get your turns? We all know some of the best pre-season riding comes to those willing to put in the work and get after it once the first storm hits.
Whether you're hiking or skinning, you need to check your gear and ensure it's safe before you venture off on your own. We teamed up with Burton Ambassador and avalanche safety expert Kate Ediger to get you dialed in, so when the first big storm hits you're ready to head out the door.

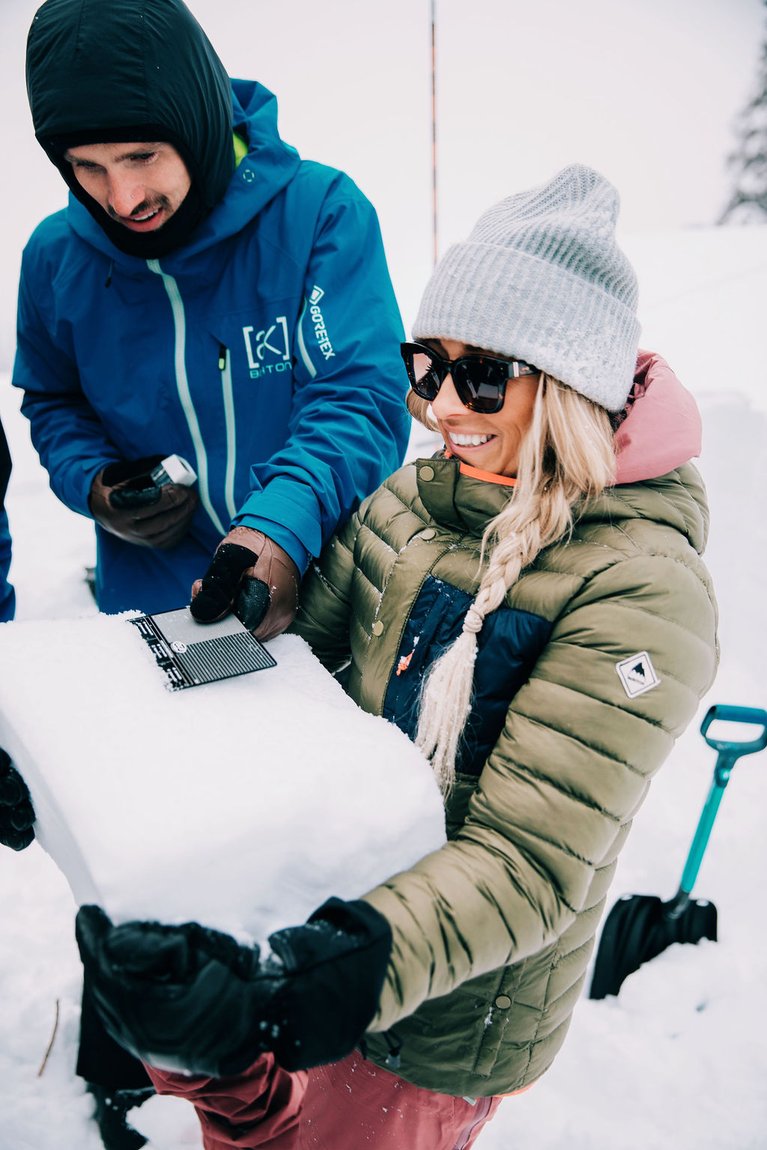
My entire life is focused around safety in the backcountry. Currently, I’m a tail guide in Revelstoke BC and the owner / operator of an avalanche safety company, called Pit + Peak Avalanche Training. Over the years, I’ve spent hundreds of hours teaching and riding in the backcountry. I’m here to pass along the tips I’ve picked up, so that you can feel confident from the time you pack your bag, to dropping into your first line.
Backcountry Essentials
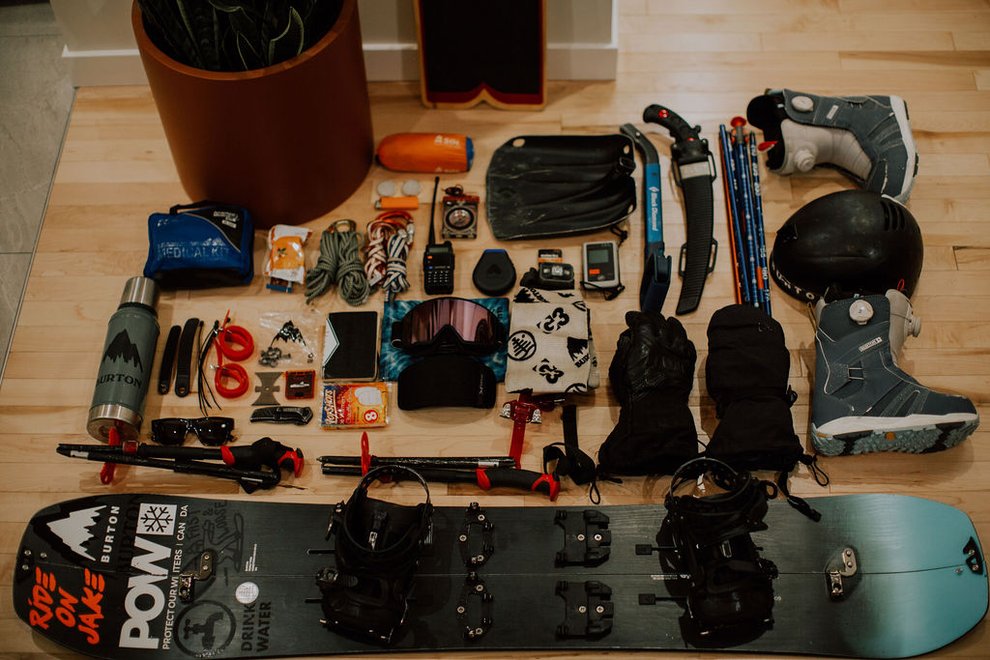
If you don't already own it, you will need to buy the basic avalanche safety gear. All of this gear works together and each item supports the other. Not only do you need the proper gear, but it's critical to know how to use it. You can have the best, most expensive gear on the market, but if you do not have the knowledge base to use it, it is obsolete.
Here are the basics that you’ll need in your pack every time:
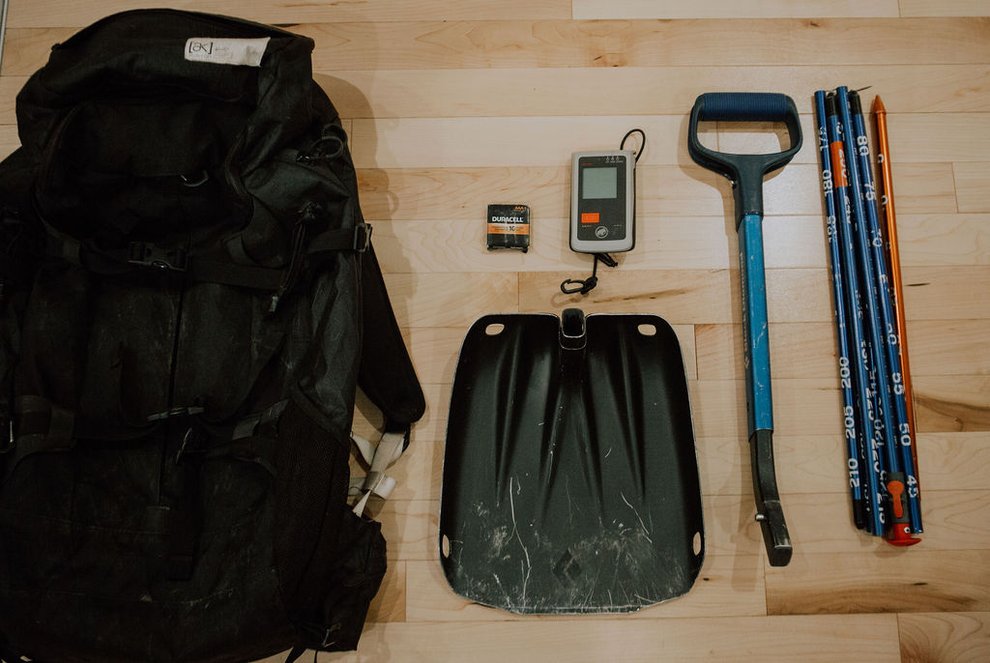
Beacon – A beacon is an electronic device that can both transmit and receive communications. All beacons are able to communicate with each other and have two modes: send & search.
Probe – A probe is a long pole designed to extend itself quickly when thrown properly. Its main purpose is to help you find bodies buried in snow.
Packable Shovel – A shovel is used to move snow when searching for a target. The best shovels are packable, lightweight, easy to assemble, and reliable.
The most important tool in the backcountry is your beacon, so take the time to really inspect it. Start by checking your batteries, make sure their is zero corrosion at the connection points. If there’s any sign of corrosion take it to a professional to make sure the device is working properly. Remember, properly storing your beacon is essential for optimal usage. Never leave batteries in it for long periods of time and frequently change your batteries when they hit 50% with new ALKALINE batteries.
Why alkaline? Lithium or rechargeable batteries will show a higher charge while at room temp, but drop once they're in the elements. So, your beacon could show a full charge before heading out, and then die without you knowing, or when you need to take it out in an emergency.
Make sure your beacon is fully updated. Search the make and model of your device to see if there is any new information available. Take this important step to ensure yours is up to snuff. Lastly, give your beacon a standard test. Get a friend and do a mini search, if anything is out of the ordinary, make the appropriate adjustments BEFORE getting on snow.
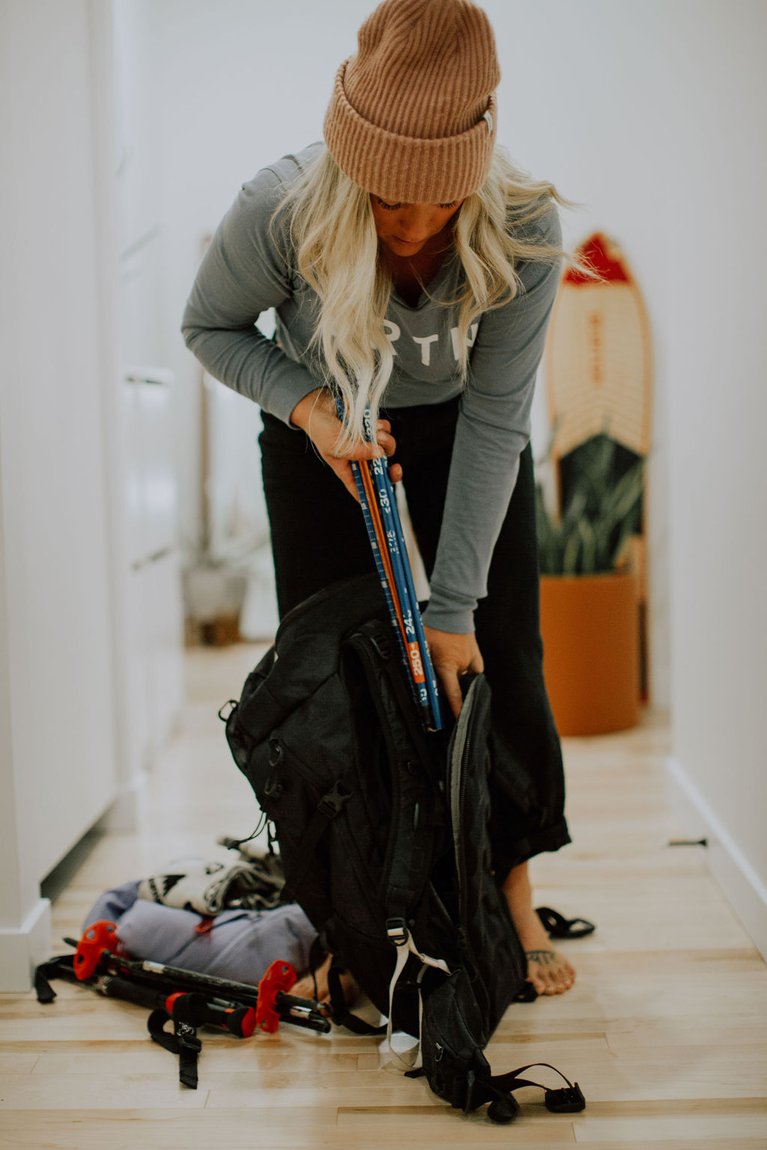
Now, test your prove and shovel. Throw your probe a few times to make sure nothing snapped in the off-season. Dig around with your shovel to ensure all of the connection points line up. Hell, even zip and unzip all the pockets to your bag.
Having the essentials of your gear in order will prepare you for the ever-changing conditions on the mountain. With the confidence of a well-packed bag, you can proceed in the backcountry with confidence.
Now that your essentials are dialed, let's dive into the rest of your gear
After thoroughly checking my probe, beacon, and shovel, I move on to my first aid kit. Just like my pack, I pull everything out and take an inventory of what’s left. Even if you avoided a major medical emergency last winter, it’s likely a few band-aids or Advil capsules went missing.
My first aid kit includes the following (and so should yours):
- Wound kit
- Rubber gloves
- Band-aids
- Butterfly strips
- Tensor bandages
- Triangular for shoulder injuries
- C Splint for leg & arm injuries
- Tylenol, Advil, Asprin
- Electrolyte Gel tabs
When thinking about an emergency in the backcountry, a couple bandages might seem insignificant. But believe me, these basic medical supplies can make a huge difference. Fortunately, most kits come in a ready-to-use and will fit perfectly in your pack.

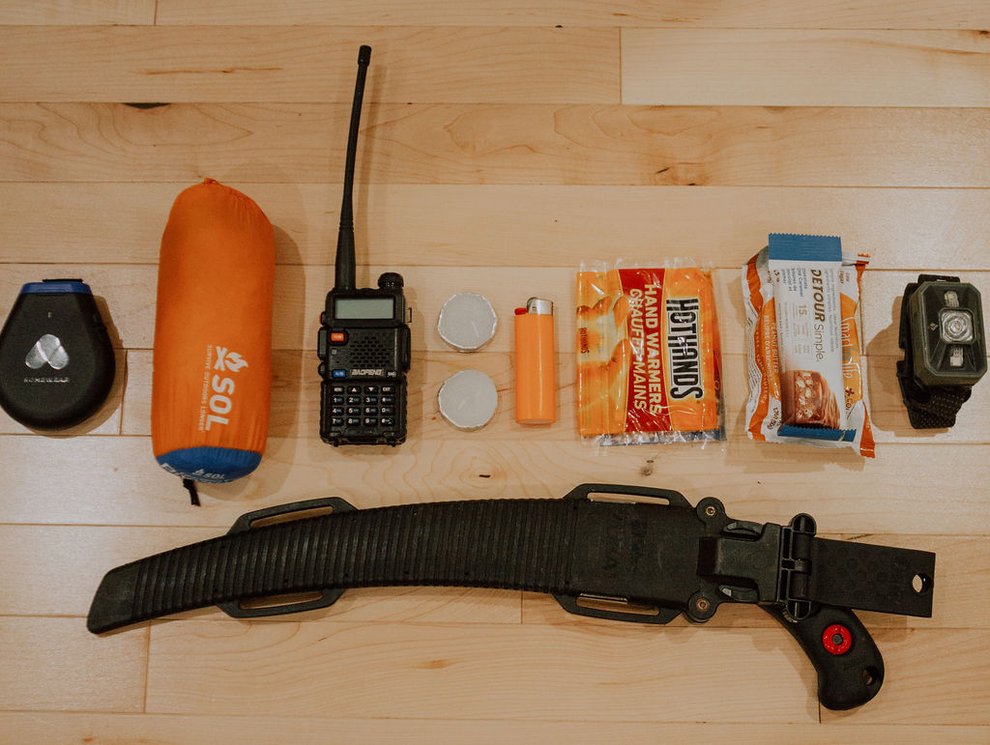
After checking my first aid supplies, I reassess my survival gear. Having survival-specific gear in your pack is an absolute must if you are pushing further into the mountains. These items are not going to be used as frequently as the rest of your gear, but when you need them, you REALLY need them. Fortunately, most of this gear is small, packable. Which makes it easy to carry in your pack without taking up that much space.
Here’s a breakdown of the survival-specific gear I keep in my pack.
Bivy Sack – A bivy sack is essentially a lightweight and packable sleeping bag. Some pack down to size a fist and weigh less than a pound. These can be used as a survival tarp, a tool to keep someone warm when injured, and (obviously) as a sleeping bag for cold temps.
Fire Starter / Waterproof Matches – In extreme cases, you may need to stay in the mountains for long periods of time. Once the sun sets over the mountains, it gets really cold, really fast. Waterproof matches take up less space than a pack of gum and can easily make the difference between staying warm and hypothermia.
USB Power Bank – Your phone is actually one of the most valuable tools you carry into the backcountry. The most basic smartphones can store maps, display the weather, and (obviously) be used to communicate with the outside world. A backup USB power bank will ensure all of those resources are secured.
SOS Device - You always need the option to call for help in an emergency. Despite the offline capabilities of your phone, you can not depend on it to make SOS calls while in the mountains. Phone coverage can be spotty at best and even with a backup phone charger, your smartphone is not reliable enough to call for emergency services. Make the investment and get an SOS / Satellite phone if you plan on venturing into the mountains.
Headlamp - Whether you get to the parking lot later than planned or you are stuck in the mountains after sunset, a headlamp will come in handy. This tool will ensure you are not draining other devices' batteries for a light source. Plus, it's one of the smallest items you can pack with the biggest impact.
Hand Warmers - Yes, they are nice to throw in your gloves on colder days. But, if you are exposed to the cold weather for too long a small, packable warming device is one of the best options in fighting frostbite.
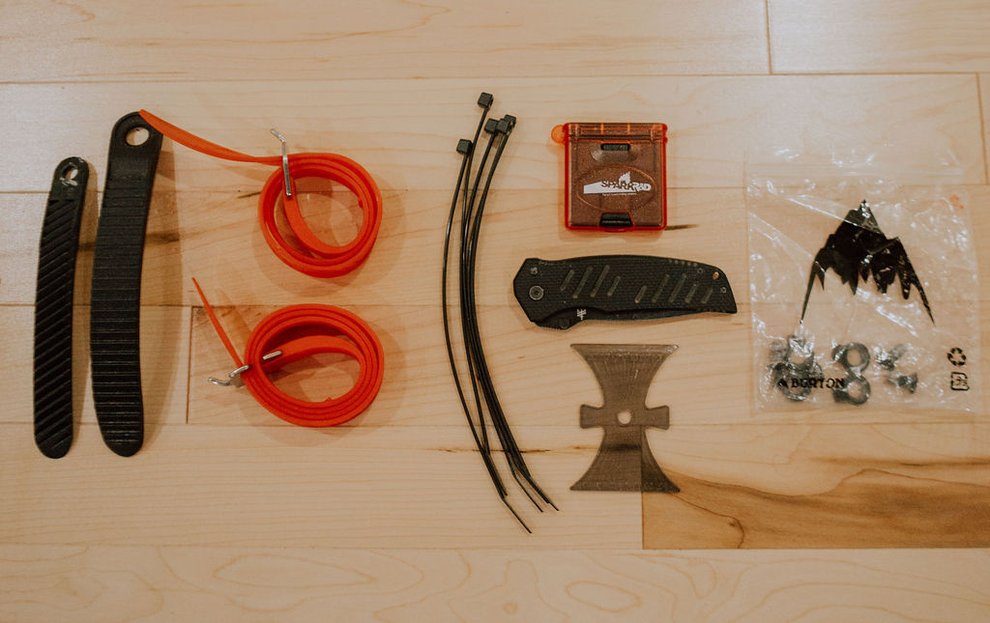
No backcountry pack is complete without some spare parts
The snowboarding industry has done an amazing job of creating split gear that is built to last and rarely fails. That said, when you use your gear as much as I do, things can break. Missing something as small as a binding screw can turn you pow-day upside down. That’s why I always keep a slew of spare parts in my pack. Here's what I keep for spare parts:
- 2 Toe Straps (one left, one right)
- 1 Ankle Strap
- Back Up Binding Handwear (toe / heal screws, basic handwear)
- 2 Split Clips
- 5-10 Zip Ties
- 2 Large Rubber Ski Straps
- Boot Laces (BOA or speed zone lace)
- Swiss Army Knife / Multi-tool
All of these items will ensure your gear is fail-proof. Almost everything in my repair kit can serve multiple purposes. Spending time in the backcountry is an endless tug-of-war between being prepared and keeping your pack light. So, make sure everything in your repair kit can be used in more than one way.
If you are running HitchHiker bindings or a Burton Splitboard, you can stock up on spare parts on their website..
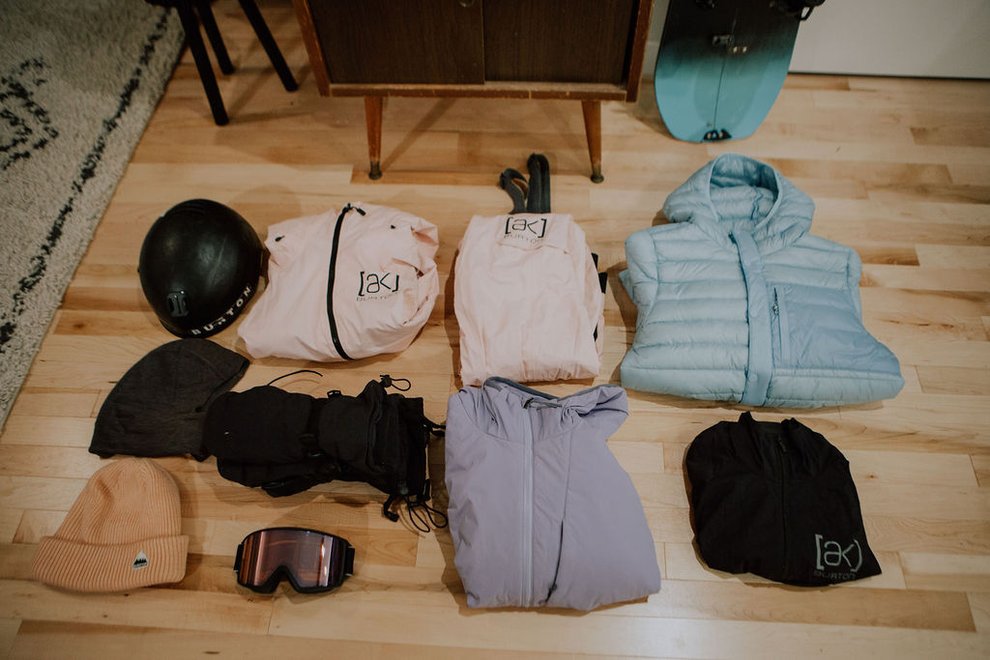
Last, but certainly not least: Get the right gear
In the mountains it’s you versus the elements: your gear will decide who wins the battle.
"Riding in the Backcountry" is not a standard day at the resort. So, you will need versatile gear and you will need to adjust your gear selection depending on the mission. Here's an overview of what keeps me safe and comfortable while riding:
Packable Down Jacket – Great if your are skinning, you will stay warm while skinning, but your body temp will drop as soon as you stop, that’s where the down jacket comes into play
Extra Gloves- For the sled ride out, or if it’s a stormy day and your gear gets wet. It’s always key to keep your extremities warm.
Extra Socks – If you are riding in the slush / wet snow, or your boots are getting old. Frostbite is a long-lasting issue that can take weeks if not months off your riding.
Lightweight Touring Jacket- On the up you can get quite sweaty, but you are still subject to the elements. It’s important to not allow yourself to get to sweaty before the summit, so the proper layers are key to success in the mountains!
Thank you for reading along and allowing me to share my insight into preparing for backcountry riding! It’s such a blast to experience the mountains this way. I hope that you have a fun, fulfilling season and that these tips can be added to your arsenal making your experience in the even more safe and fun. Happy shredding!