How to Improve your Splitboard Techniques
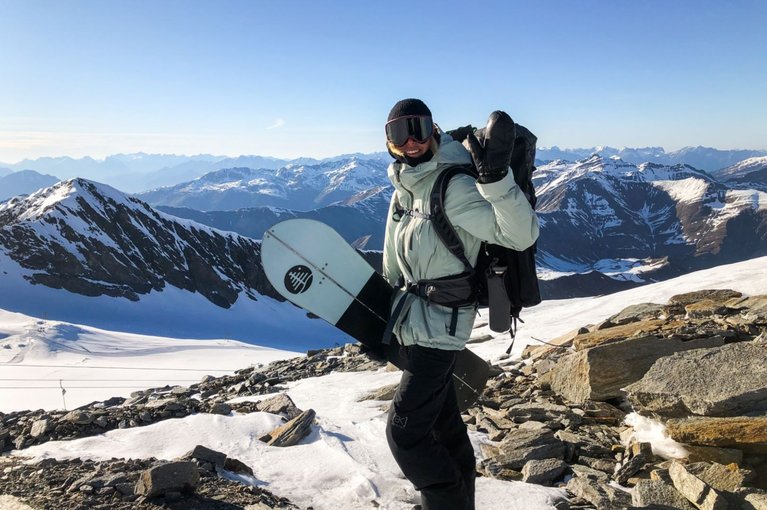
Splitboarding gives you freedom and unlocks a world of completely new terrain.
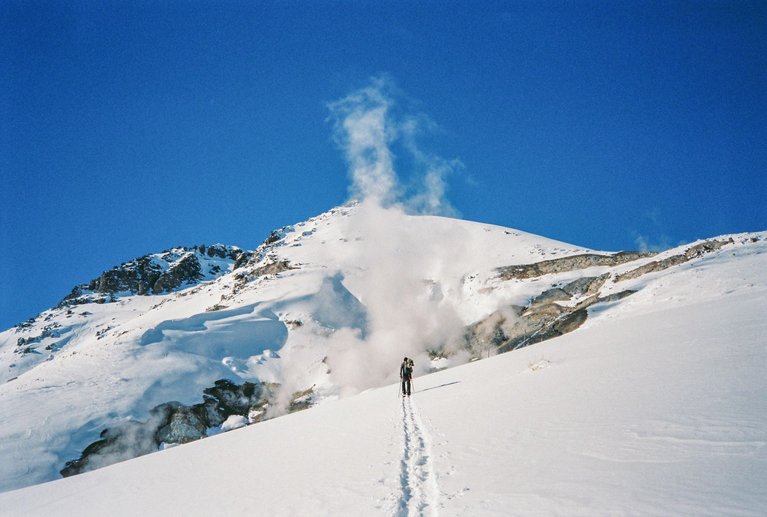
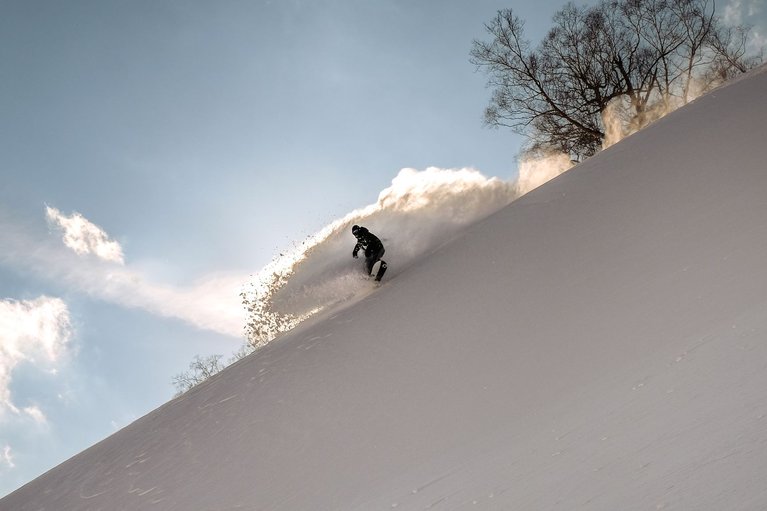
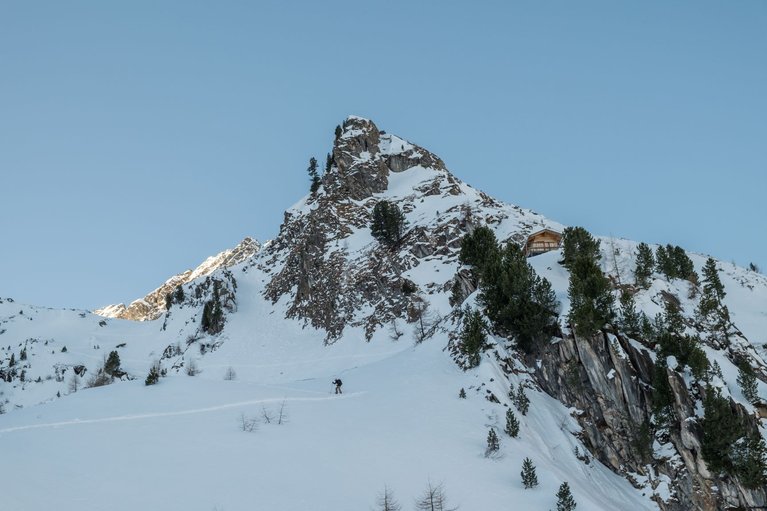
Imagine you are out on a bluebird day, the sun is warm on your face, and the snow is glistening. You pack your splitboard, skin the mountain, and arrive at a picture-perfect panorama. A short break, and then the time has come - drop in on an untouched slope with fresh powder. The corners of your mouth turn up, goosebumps all over your body, one shout of joy after the next, it's almost like you're flying. Does that sound like a dream to you? Together with Laura and Gabriel from Life in White, we have compiled some splitboarding tips and tricks that, with a little practice, will turn your dreams into a reality.
Averaging around 200 days a year on their boards, Laura and Gabriel are absolute splitboarding freaks. They know all the dos and don'ts when it comes to earning your turns. We sat down with the duo and picked their brains to come up with eight easy ways to improve your splitboarding experience.
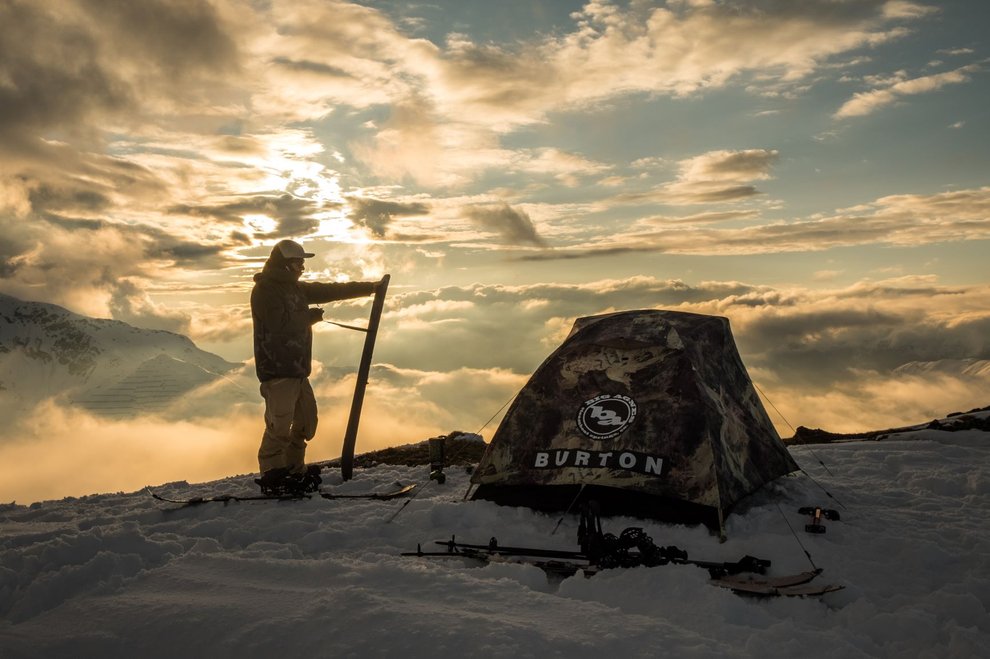
1. Be Safe: Plan Your Tour Carefully
Regardless if you're heading out into familiar or new terrain, you need to make a plan. If you plan on heading out of bounds or into the backcountry, it's imperative that you educate yourself by taking avalanche and first aid courses. Like, no joke. It could mean your life or someone else's. The dangers out there are tragically very real. Check out both our On-Hill Snowboard Safety Tips All Riders Should Know and Why You Should Take an Avalanche Safety Course before committing to the split life.
Now that we've covered that let's get back to planning your tour. First, you'll want to research and plan your route. We suggest looking into the area's snow conditions and avalanche reports to figure out if it's a safe place to go. Another great resource are area locals you might know. They can give you valuable insight into the conditions, both past and present, along with suggested safe routes to explore. You'll also want to carefully watch the weather reports. These will inform you when it'll be best for you to head out while also telling you what gear to pack.
2. Packing list for your splitboard tour
When heading out into the backcountry, it's important to make sure you pack everything you'll need to guarantee you have a good day. Pack too little, and you might be missing an important piece of gear. Pack too much, and you might be trailing behind the rest of your crew. Here's the checklist Laura and Gabriel swear by before they take a tour:
- Avalanche transceiver, shovel, and probe - Make sure you check all three of these pieces before each trip. It'll save your life.
- Splitboard - Duh, of course.
- Skins and poles - We're huge fans of the Compactor poles because they fit inside the backpack and don't hang loose on the backpack.
- Sunglasses, snowboard goggles, and sunscreen - Nothing can ruin a bluebird day quite like a sunburn.
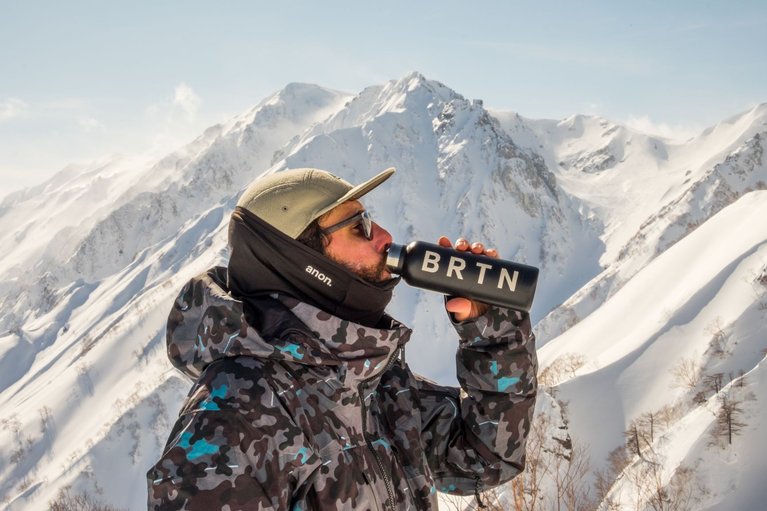
- Lunch, snacks, and water - We usually pack two water bottles each and a few small snacks to power us through the day.
- Map and compass - Even if you can use your smartphone, you need to remember that batteries run out, especially in the cold. A good old map and compass are a must-have.
- Extra clothing - While you're skinning your body's temperature will change. It's important to pack layers so you can easily cool off or heat up.
- Another pair of gloves - Everyone hates wet hands.
- First aid kit including bivouac sack and warming blanket - In case of an emergency, you'll be glad you packed these.
- Repair set for your splitboard - We always bring additional binding parts, screws, screwdriver, rubber ski holder, adhesive tape, a multitool with knife & scraper for ice whenever we go touring.
Not on the list, but one of the most important pieces of equipment while splitboarding is a suitable backpack. There are tons of different packs to consider, but we suggest going for backpacks designed for freeriding. These will ensure you have all the room for your gear while still being comfortable while your riding.
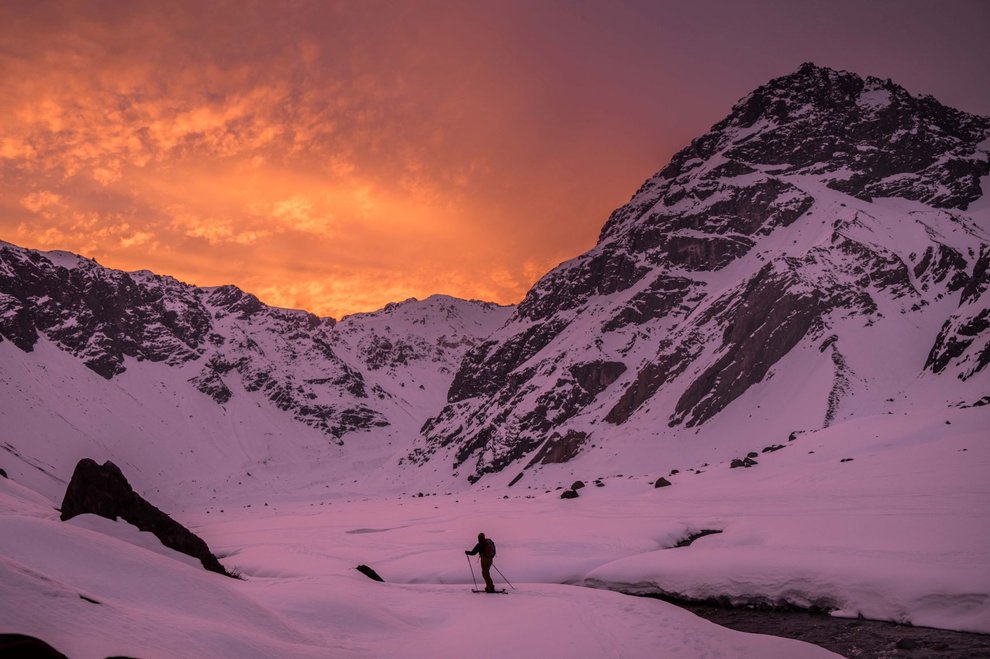
3. Enjoy The Ascent As Much As The Descent
We're not going to lie, going up is never as fun as going down. Especially for beginners, the ascent can still be quite difficult and tedious. You'll most likely be winded, frustrated by your poles, and fall a handful of times. But just like learning to snowboard, the more you practice, the more you'll learn to love it. Every ascent is going to take effort, but with each climb, the easier it becomes. Not only is it great exercise, but the act of skinning is also very meditative. It's a great time to reflect, process ideas, and leave everyday stress behind. The more you go up, the more fun you'll have going down.
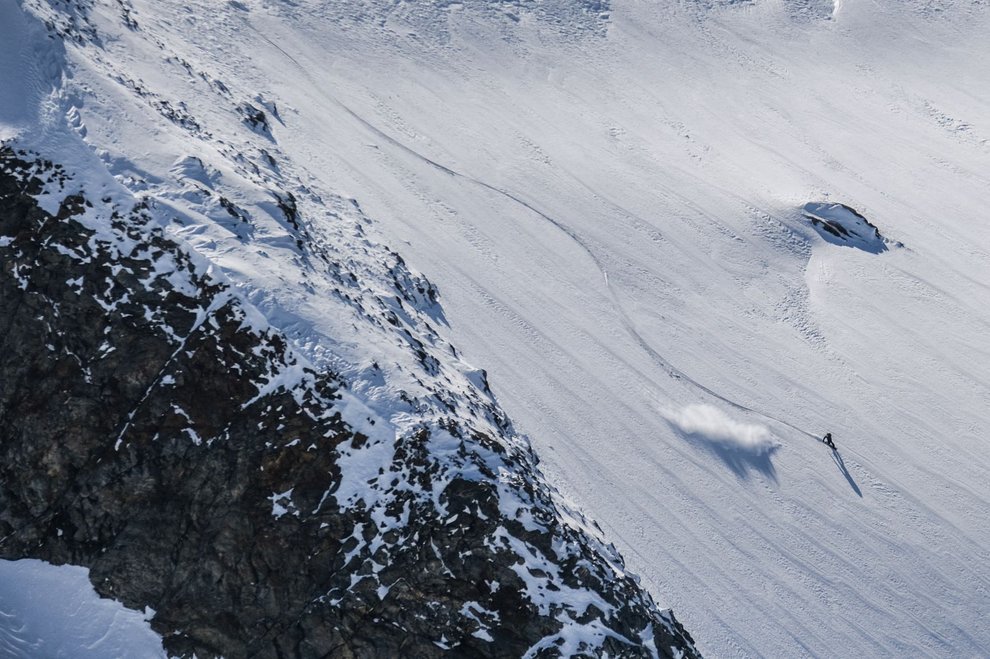
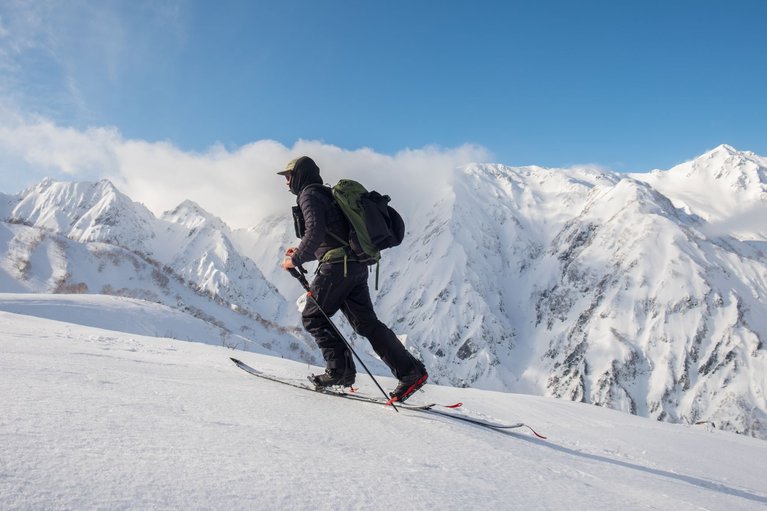
4. Choose your route up
In addition to the correct route down, the choice of the route up is also extremely important. When choosing a route, the lower angle approach will almost always be safer and more efficient. An angle between 10 and 15 degrees is the best choice. As soon as the terrain becomes steeper, use the risers on your heels to make the ascent easier. Also make sure that you shift your weight more backwards, especially on steep terrain, so you don't slide down.
It is important to always look carefully at the terrain and avoid avalanche-prone areas. Simply following other splitboarders without thinking about it is usually not a good idea. Listen to your instincts and trust your knowledge! Turning back for safety reasons is a strength and not a weakness!
5. Smooth Transitions
At first, transitioning between your touring setup and riding setup can be a pain. So the best tip we can provide is to practice this as often as possible. It is best to find a flat place for it, because it is not easy for anyone on steep slopes or when the wind is whipping at your face. Even if ski tourers mostly claim that splitboarders take forever to get ready for the descent, you'll become quite fast at this with a little practice.
6. Skiing with Split Skis
Oh yes - that sounds a bit scary at first, especially if you've never stood on two boards. Still, you should practice "skiing" with your split skis on short passages, because there are always sections where you have to slide down. On very steep terrain, however, we don't ski down, but walk sideways step by step, like going down a flight of stairs.
7. Life In White's Top Technique Tips
Glide your stride: Beginners in particular often make the mistake of lifting their legs too high and thus waste unnecessary energy. Instead of lifting your leg, push your feet forward and slide through the snow. It's less of a step and more of a skate.
Shift your weight to match the slope: It is especially important on steep terrain that you shift your weight backward, so you don't slide down. For an incline greater than 25 degrees, you should also raise your risers, because ideally you always stand in the middle of the splitboard so that your weight is distributed across the entire sole of your foot and not just the ball of the foot.
You have poles for a reason: Don't think your poles are useless. Poles are low key one of the most important splitboarding tools. Not only great for pointing, but they also help maintain your balance while touring. While skinning, plant your pole in the opposite direction of your step: right foot - left pole and left foot - right pole. Tip: Do not put your hands through the loops of the poles since poles can not only lead to injuries if you fall, they also act as an anchor in the event of an avalanche if you cannot get out of the loops fast enough.
Kick turns: Once the terrain becomes steeper, you can no longer avoid sharp turns. This is why you should practice this a few times in advance so that you can master it perfectly even in difficult terrain. This is how it works: Walk to the end of the trail, establish a stable stance and ideally stand horizontally. Stabilize your body with the poles and shift your weight towards the base of the valley. Now you lift the mountain foot and turn it with the tip in the new direction. To follow with the second foot, shift your weight onto the already rotated foot and pull the other foot to follow. The best way to do this is to give the split ski a targeted push (kick turn) with your heel and turn the lower leg in the new direction. So that you don't lose your balance, make sure that you don't bend your upper body too far. As we've said, this is definitely one of the hardest things about splitboarding and so you should practice in easier terrain first.
Slope crossing: When crossing a slope on the side, it is important that you try to keep as much contact with your skins on the snow as possible in order not to slide down. Even if you are automatically tempted to cross on your edges, that is usually the guarantee for sliding down. That's why you should try to push your ankles towards the descent in order to reduce the angle and get more support.
8. Useful equipment tips
Crampons: When it's icy and you have to cross slopes, it can quickly become very difficult to edge. That's why we swear by the crampons that can be attached to the splitboard - this will save you a few nerve-wracking situations.
Skins: Especially on very cold days, your skins may not adhere well enough to your boards. This is why it's important to always scrape the bottom of your splitboard to remove any snow or ice. Another trick is to keep your skins in your jacket's inner pocket so they don't freeze. This keeps the adhesive warm and is helpful if you plan on doing multiple transitions in one day. If the adhesive does ice up, you can use the edges of your splitboard to remove the ice from the skins.
Even A Master Has To Practice
Regardless if the lifts spin, splitboarding is a great way to not miss out on your turns this winter. It requires a lot of skill, technique, and knowledge, but with practice, this will be your best winter yet. So grab your board, get out there, and enjoy your freedom.
Once again, for those of you who only skim-read this post: exploring the backcountry is dangerous! Do not go out into the sidecountry or the backcountry without the proper safety training and equipment, and never go alone!