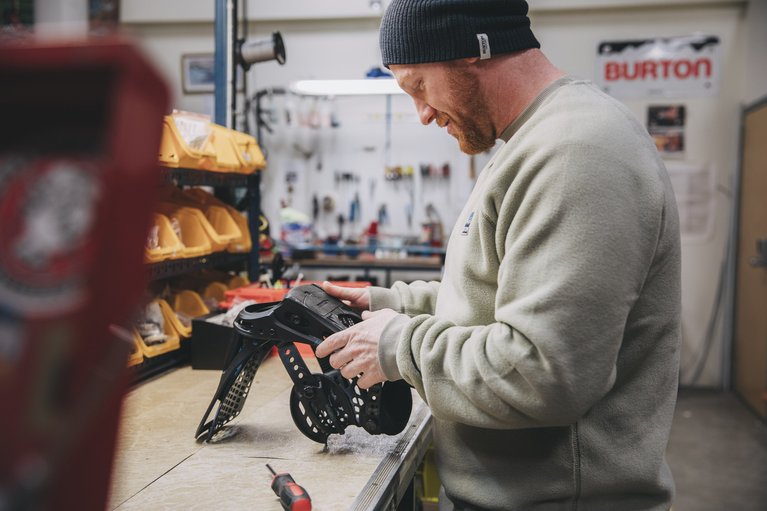
A Guide to Burton Binding Adjustments and Easy At-Home Repairs
Great fit and function from your snowboard bindings is mission critical, directly correlating to comfort, responsiveness, and safety. Fortunately, Burton bindings have a number of simple adjustments that you can make in order to set everything up just right. If you’re not techy, you might think you want to keep these adjustments at arm’s length, but it ain’t true.
It’s okay, we’re here to make it easy for you. Here’s everything you need to know about simple bindings adjustments and at-home repairs.
Anatomy
- Baseplates and hi-backs are your two biggest parts. Baseplates have a lifetime warranty and hi-backs can be purchased after their limited warranty is up. These require more sophisticated repairs, so loop in rider service to assist you should you need it.
- Footbeds are secured onto your baseplate and rest below your boot. Most have “gas pedals” for easy adjustments that reduce toe drag, cut down on foot fatigue, and add more power to your turns.
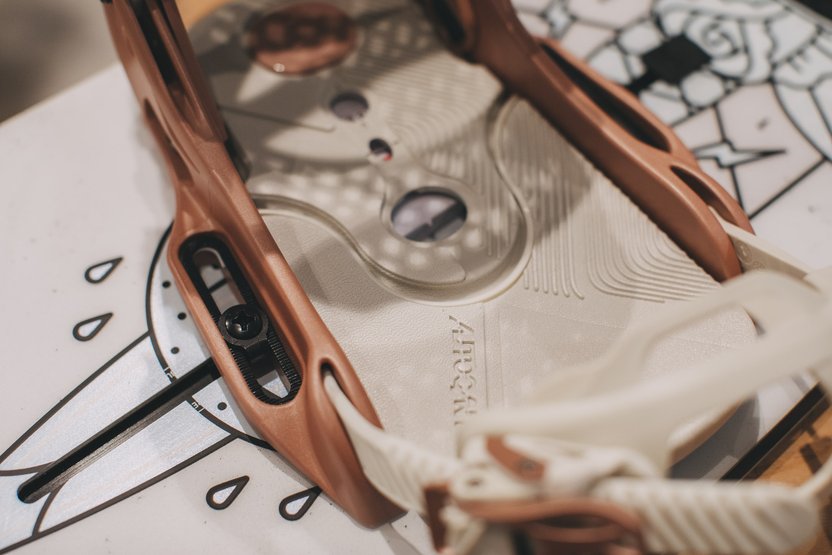
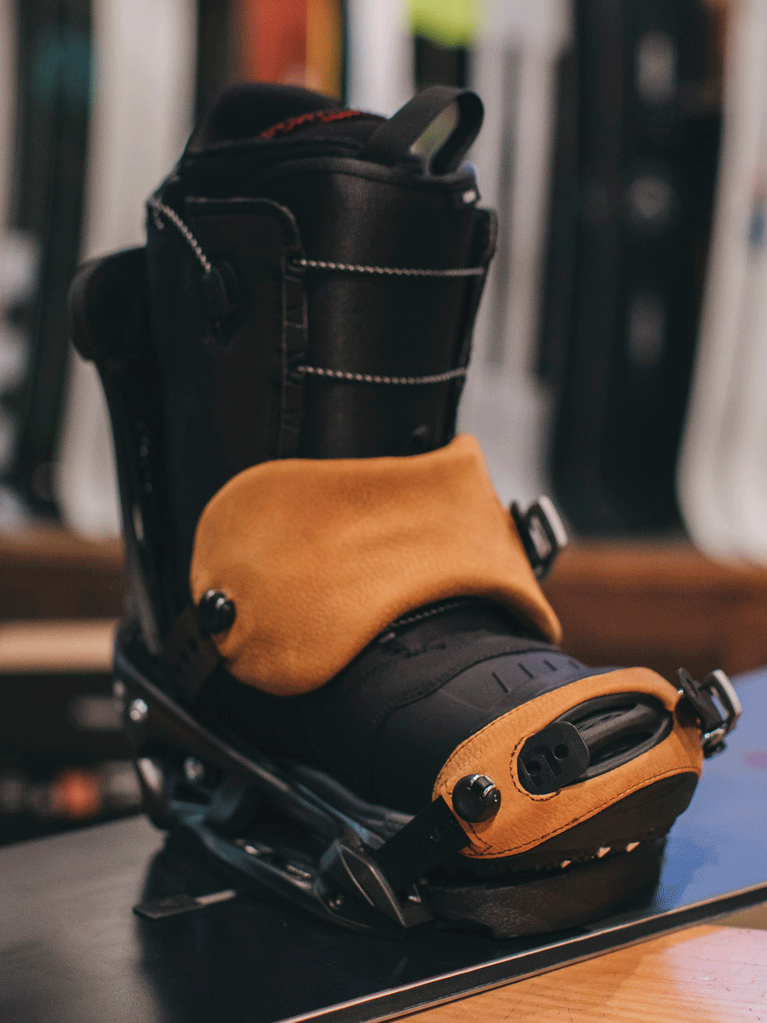
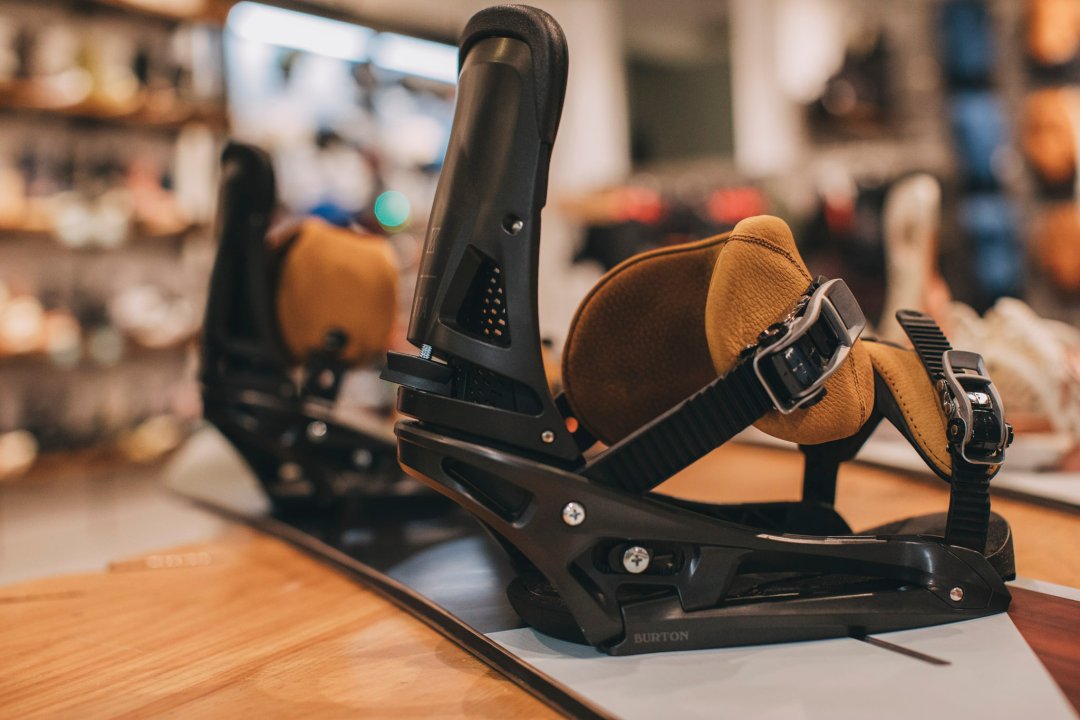
- Each toe and ankle strap is connected to your baseplate through a “slider.”
- Buckles at each toe and ankle secure and control the tightness of your straps.
- The “tongue” is the ridged piece that you crank your buckle onto.
-
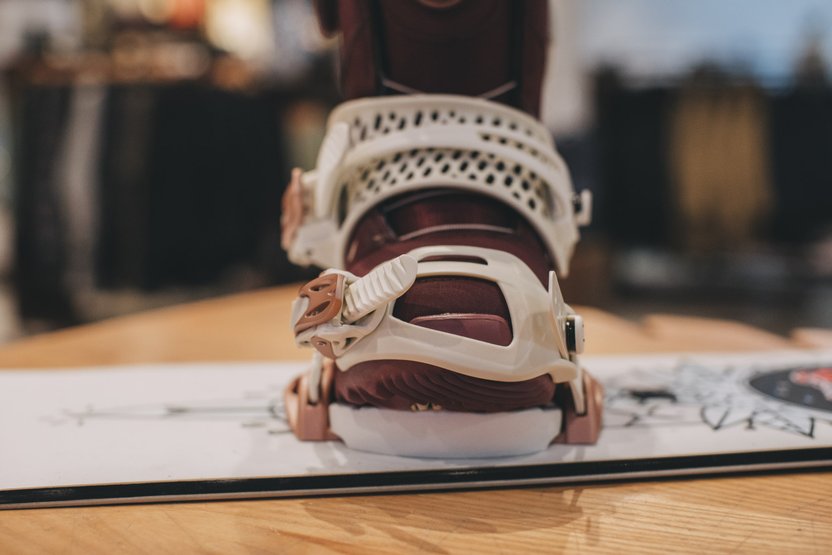
The baseplate is visible around the outer edge of the binding, with the footbed (and gas pedal) secured on top.
-
Your mounting hardware screws through a slot in the baseplate to secure your board.
-
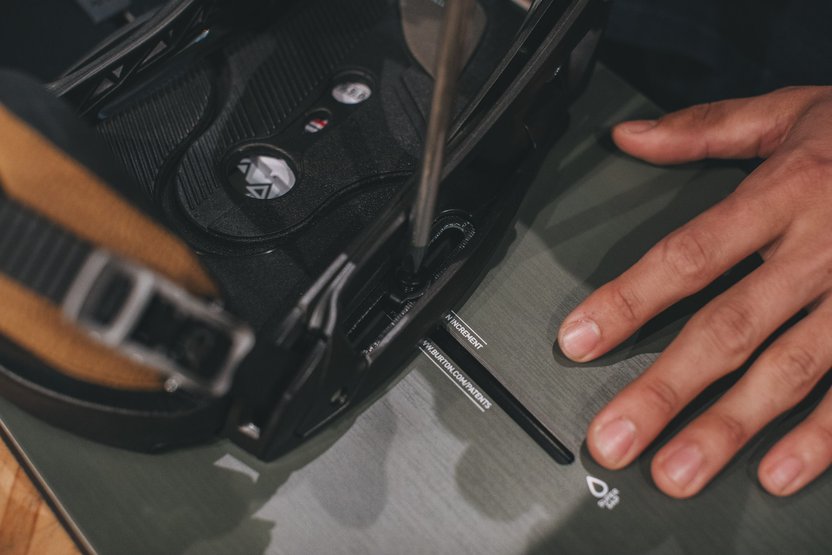
Here's your forward lead adjustment...
-
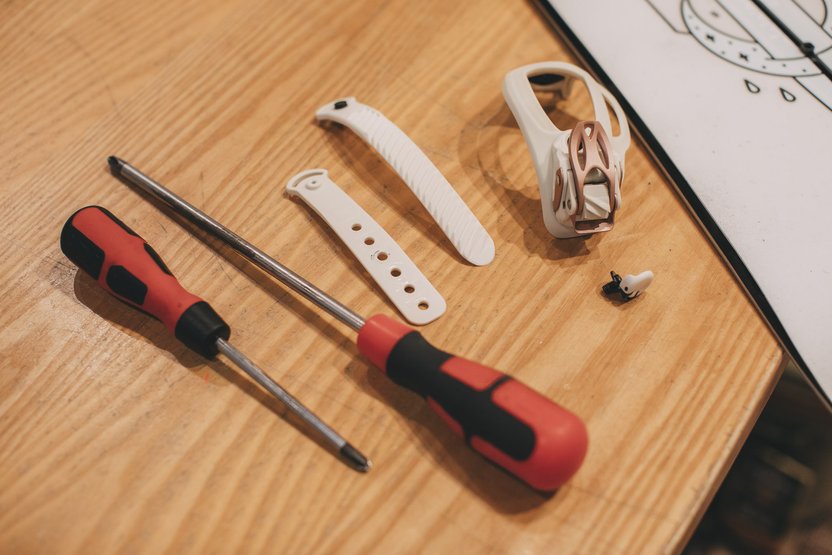
All you need for easy at-home repairs.
-
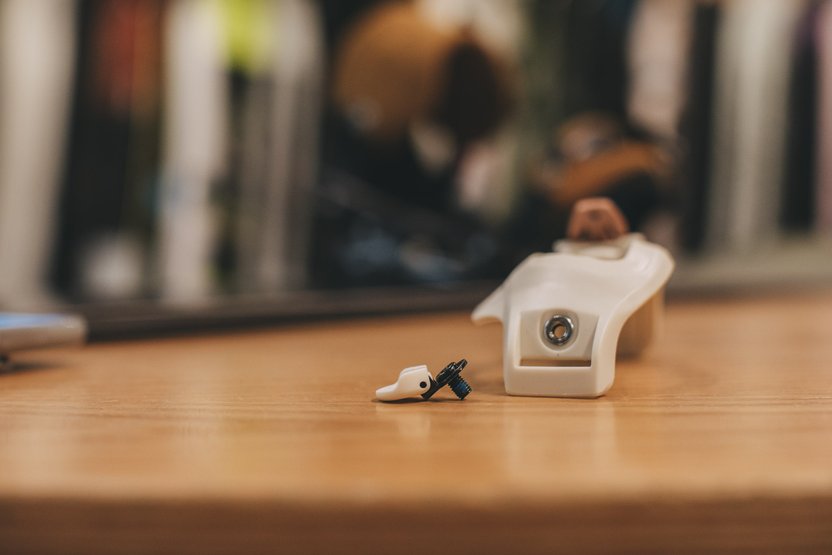
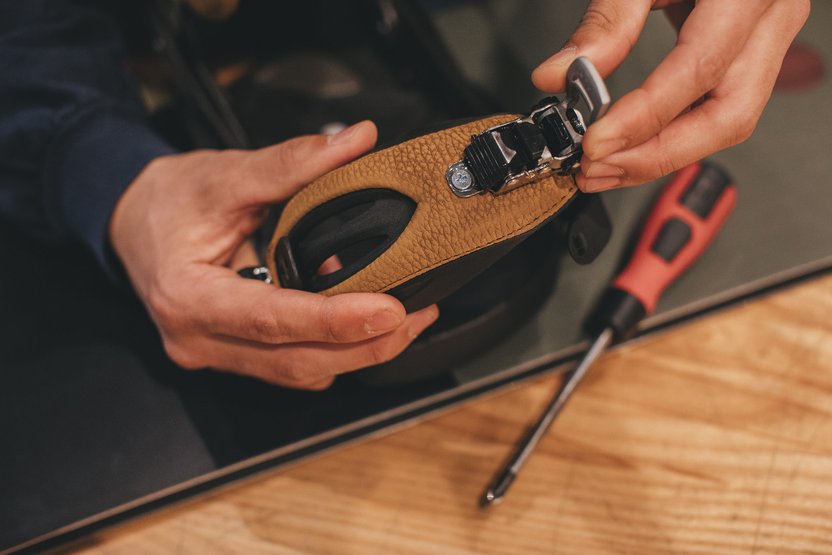
Our straps feature tool-free hardware that behaves as both a screw and a driver, allowing you to make on-the-go adjustments to your strap length so that you can get it just right.
-
What your tool-free strap hardware looks like when attached.
-
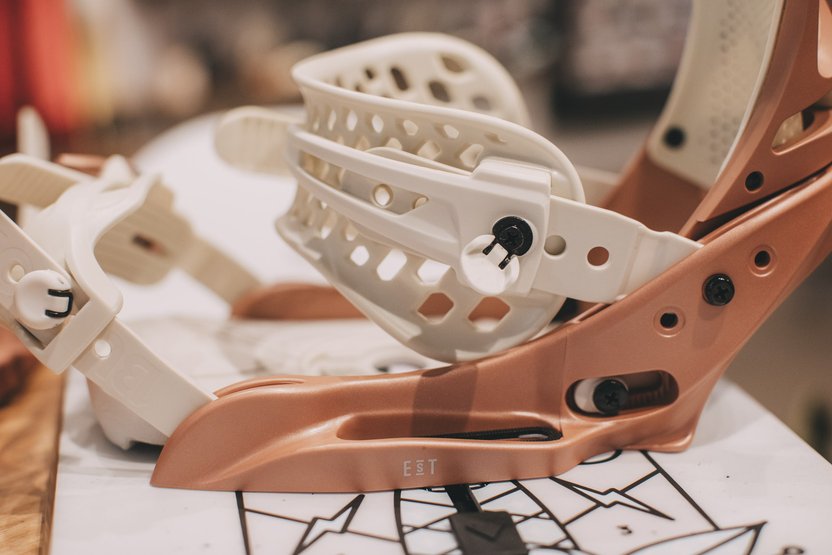
Your toe (and ankle) straps crank onto the toe slider via the binding buckle.
-
Your toe sliders attach by sliding up through the baseplate.
-
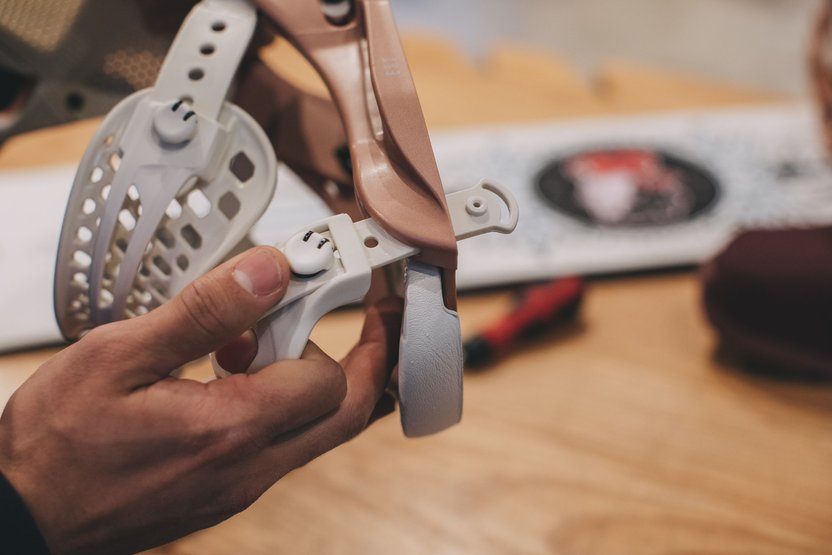
Proper strap length is critical to comfort.
-
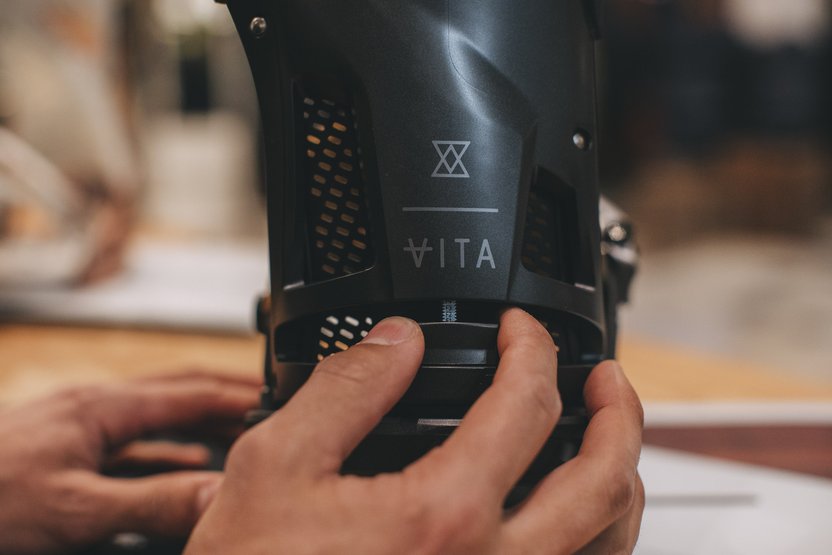
Set your hi-backs to be parallel with your heelside edge for max comfort and control.
Fit
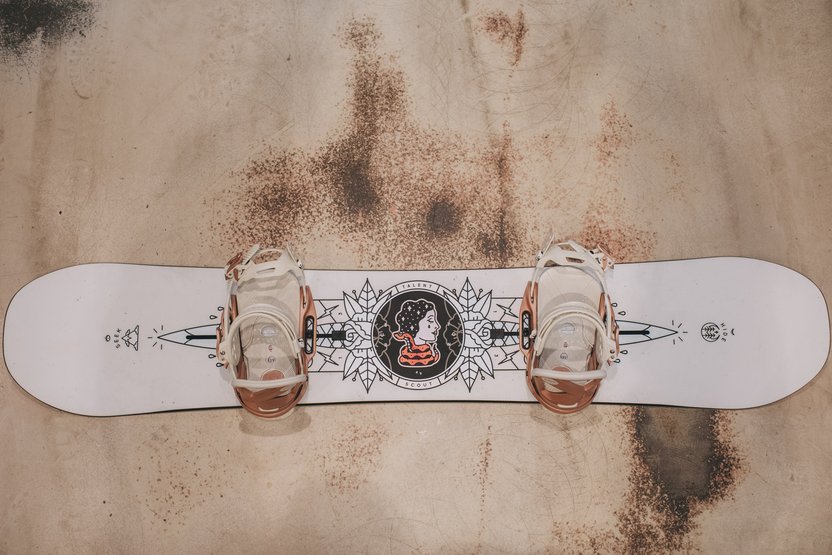
Bindings come in small, medium, and large sizes, and grabbing the wrong size is a common mistake that has a negative impact on the comfort and response of your binding. For maximum control and comfort, both your ankle strap and toe strap should be directly centered over your boot, which is easily achievable through the tool-free hardware. If your feet are XL and you just can’t seem to get your straps long enough, we can send you an XL slider on the house. Adjusting your hi-back rotates it within the heel cup, and we recommend setting it to be parallel with the heelside edge of your snowboard. Plenty of people will never touch their forward lean, but it’s something you can play around with (tool-free) on snow to see what you like. Increased forward lean results in more response for a more aggressive ride.
Checkpoint
- Strap and hi-back mounting hardware: Check this seasonally (more often if you’re on snow a lot).
- Check your mounting hardware daily. A Burton employee favorite is the Burton EST Tool because it’s tiny and fits into your pocket.
Easy fixin’
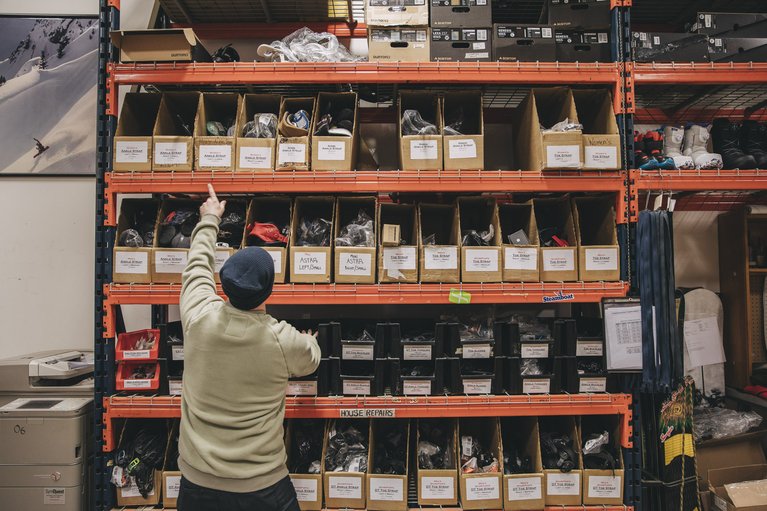
- If your tongues or sliders are looking worn or compromised, hit us up for free replacements. This is an especially good precaution if you’re heading out for a multi-day trip. No hardware necessary, just detach your binding from your board in order to slide these pieces up through the bottom of the baseplate.
- Strap mounting hardware is tool-free. If one of these screws is compromised, we’ll gladly send you a replacement.
- Broken buckles are also easily replaced with a #2 Phillips-head, and we’ll send these to you for free.
You might need a new binding when…
We want you to ride your gear as long as possible, but there are times when a new pair might be the move. Including...
- If you’re new to Burton boards and want to fully transition to the EST integration (highly recommended).
- If there’s new binding technology you want to try. We are in a constant pursuit of progression, so things get better, often.
- If your foot is growing and it’s time for a new size.
- Leveling up: If you’re ready to ride more advanced terrain with higher levels of response and precision.
- If you need to pay for two new hi-backs and an ankle strap, you might want to compare that cost to a brand new binding.
Now, it’s time for us to ask: What questions do you have about bindings? Any step-by-step tutorials you’d like to see from us that you can’t find here?
Let us know in the comments below or give our always-happy-to-chat Burton Guides a call at 800-881-3138.